 printen
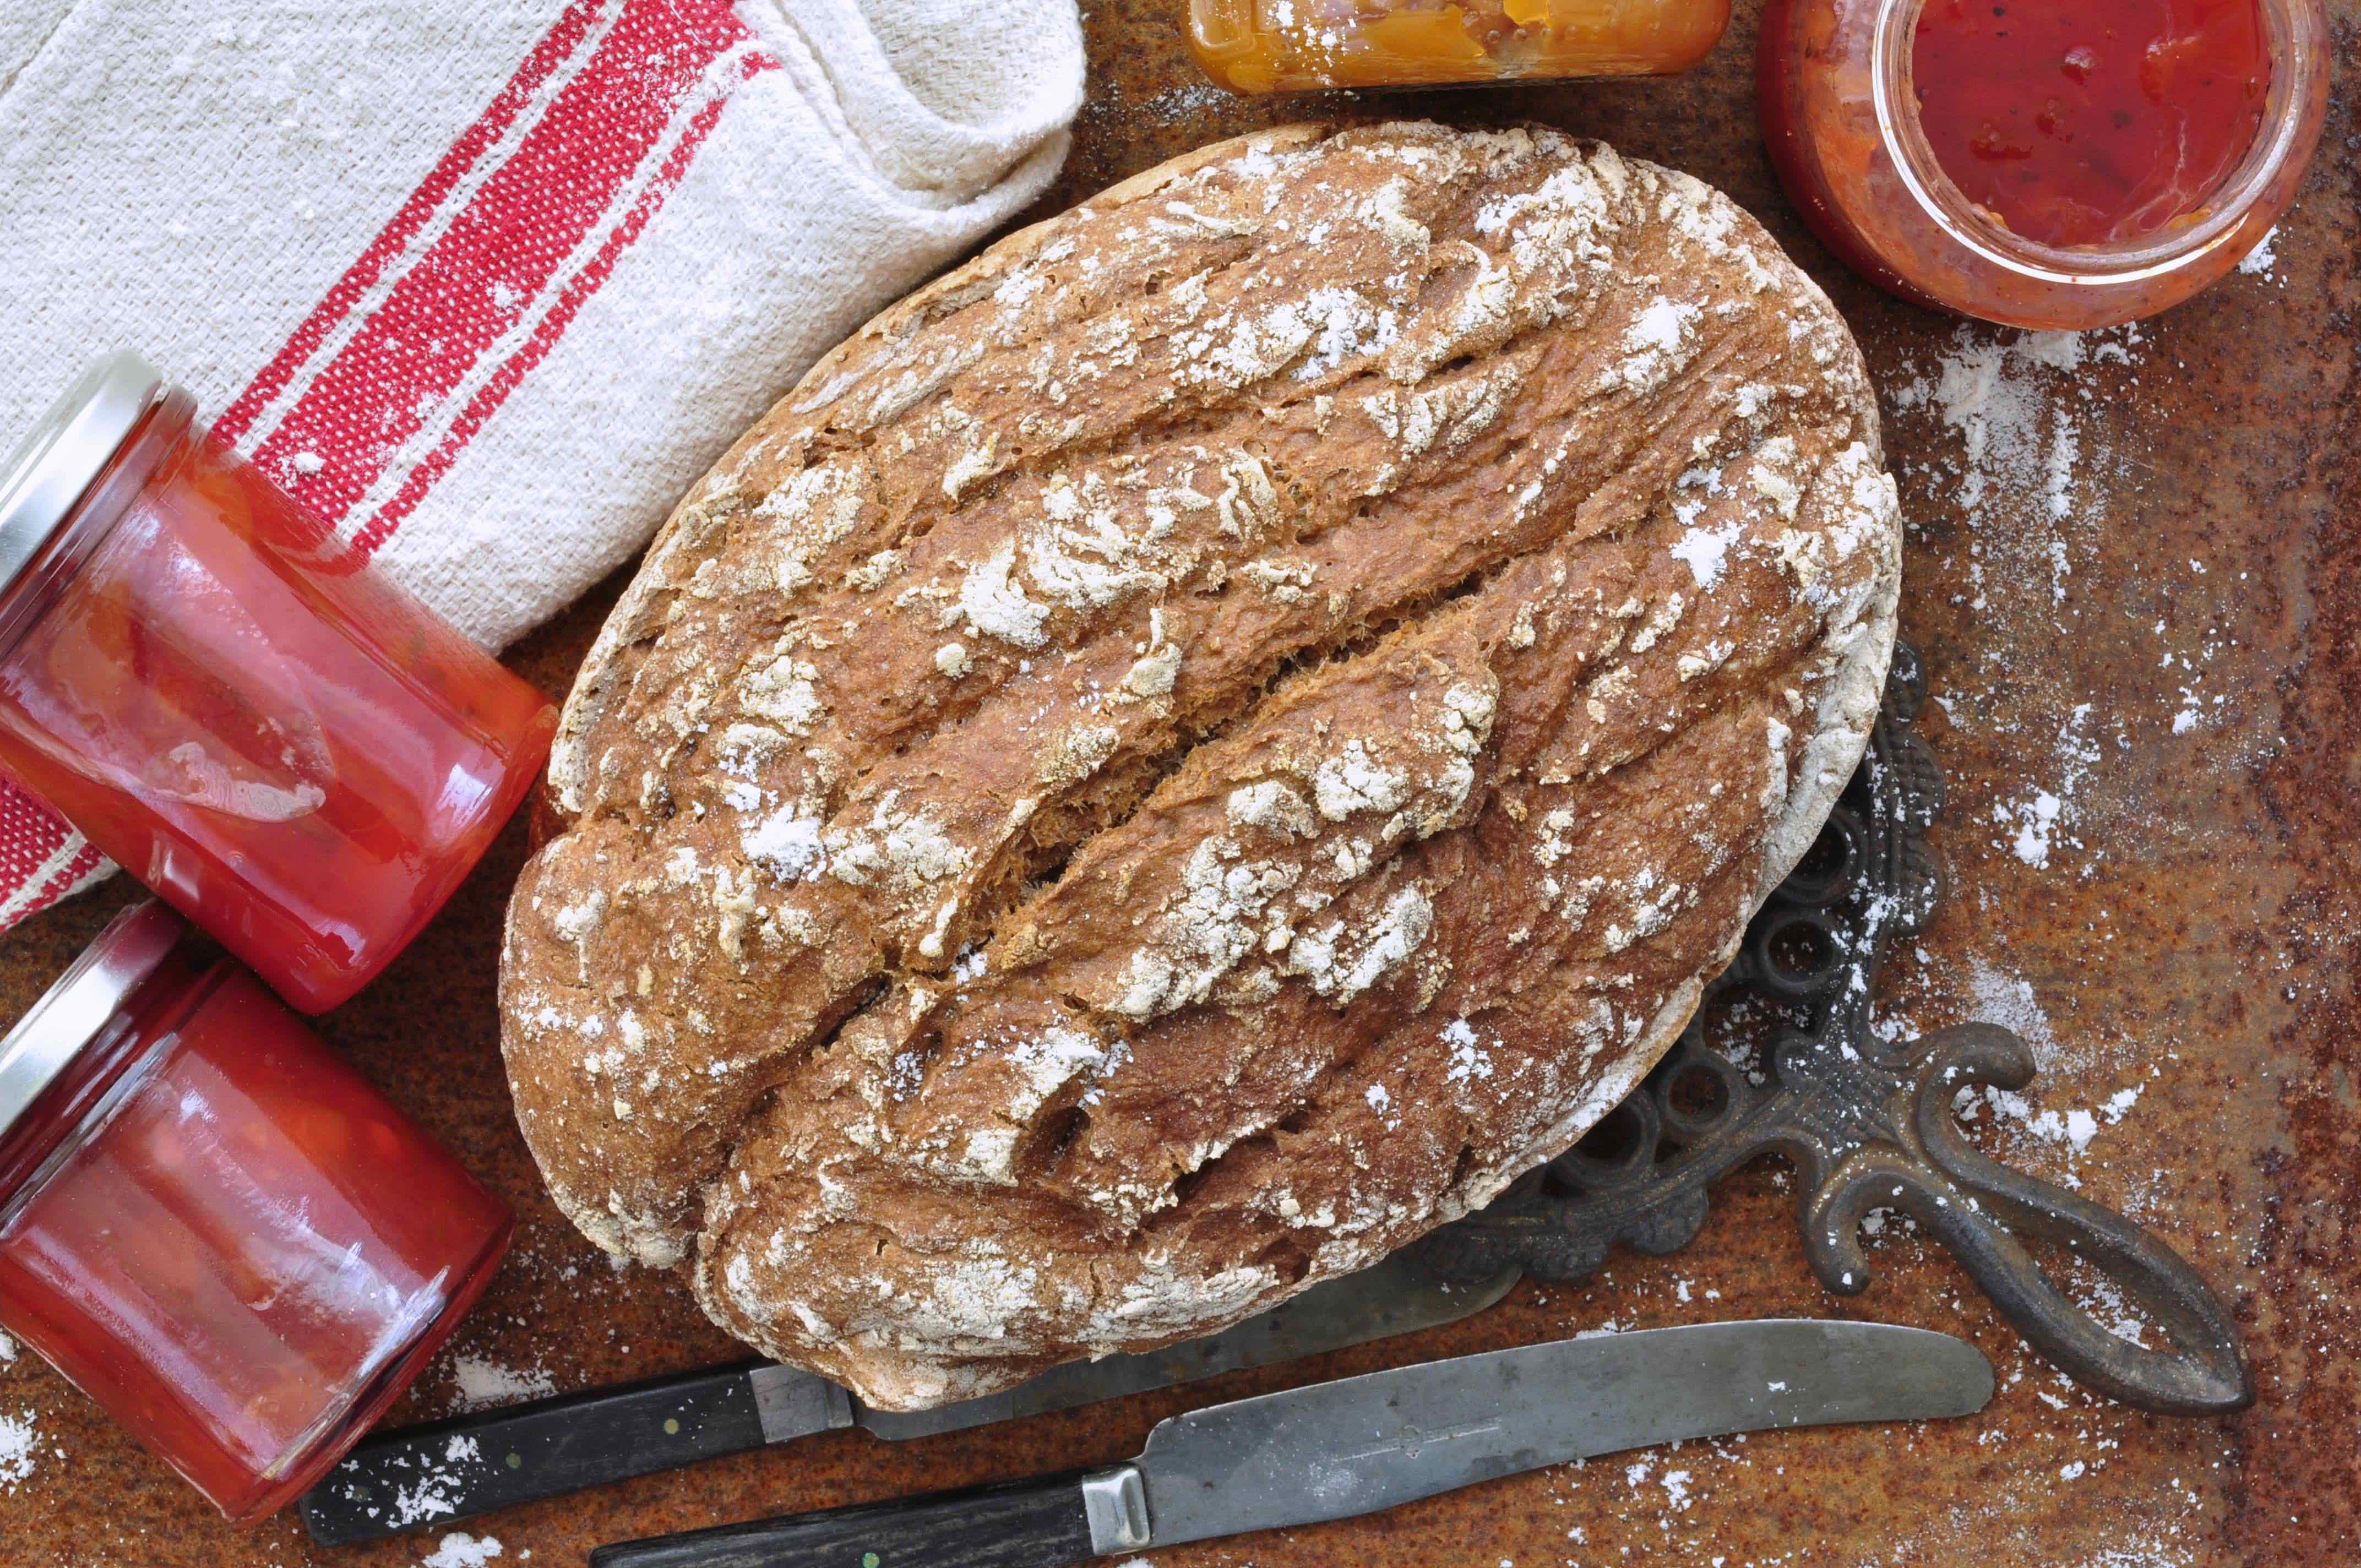
Last week I posted a recipe for a homemade wild yeast starter. Today it’s finally time to bake with it. I make a glutenfree Levain bread with a crispy outside and soft inside.
Let’s be honest. This is not a quick project. Not at all really. First, the wild yeast starter needs to be done and it will take you about +/- 6 days (but it can be prepared and kept in the refrigerator for up till 2 months in advance). Then the bread should be baked and rise taking almost 24 hours and finally the bread needs to rest for another day before you can cut it.
BUT the feeling of placing your teeth in your own, homemade bread, created through your hands and with well-chosen ingredients is rather difficult to beat. A real luxury product. Filled with love, attention, time and respect. Believe me, this bread is worth eating with some extra reverence.
I have chosen to make the bread with teff flour, a natural gluten-free whole grain that I think gives a lovely taste to the bread.
The teff makes the bread rather heavy which I like. Should you prefer a lighter version you could consider a combination of sorghum-, buckwheat- and rice flour instead.
Xanthan gum
Xanthan gum is something that I for a long time was afraid to try out. So stupid of me since I now know how perfect results it can give.
Suddenly you also can get nice, airy bubbles in your gluten-free bread just like in “normal” bread! Nowadays, it’s also rather easy to purchase so really good reason for not getting it.
The recipe below is a combination of my own crunchy chia-walnut bread (see recipe link) and a recipe from the eminent book The New Bread: Great Gluten-free Baking by Jessica Frej and Maria Blohm. A book that I recommend to anyone who just started to bake gluten-free. This one (and the other books by the same authors) are really good!
But now I think we should started with the bread!


Gluten free levain bread made with wild yeast starter
makes 1 big bread
Ingredients
Step 1
125 grams of strained fluid from your home-made wild yeast starter (see link for recipe)
80 grams of teff flour
80 grams of sorghum flour
Step 2
100 grams of cold water
50 grams of teff flour
50 grams of sorghum flour
1/2 tablespoon physillium husk
+ the whole dough from step 1
Step 3
500 grams of cold water
150 grams of teff flour
90 grams of sorghum flour
60 grams of potato starch flour
1 teaspoon salt
————–
1 tablespoon of physillium husk
1 teaspoon of xanthan gum
Some buckweat- or sorghum flour for the final touch
How do I do it?
Step 1
1. Important! If you have prepared the wild yeast starter in advance, let the yeast stand in room temperature 24 hours before starting the baking.
Mix the fluid of the wild yeast starter, teff- and sorghum flour in a bowl. Work the dough immediately manually or with an electric mixer.
2. Scrape down the edges of the dough with a spatula and then cover the dough well with plastic to prevent it from drying out. Let it rest for about 4 hours.
Step 2
3. Mix the ready dough with the other ingredients on the list under step 2.
Blend in the physillium husk as the last ingredient once you have already worked in the other ingredients. Work the dough again with a manual or electric mixer.
4. Scrape down the edges of the dough with a spatula and then cover the dough well with plastic to prevent it from drying out. Let it rest for about 4 hours.
Step 3
5. Combine physillium husk and xanthan gum in a small bowl. Set aside for now.
6. Mix the dough from steps 1 and 2 plus the new ingredients mentioned under step 3.
Finally add the mixture of physillium husk and zanthan gum to the batch. Work the dough heavily again with a manual or electric mixer. Make sure there are no lumps left in the dough!
7. Scrape down the edges of the dough with a spatula and then cover it well with plastic to prevent it from drying out. Let it rest for about 10 hours.
8. Add some flour to clean surface and pour the dough on top. Quickly form a round bread of the dough by continuously folding the outside under the bread. Add some flour if needed to prevent it from sticking to the surface but try to avoid working the dough for a longer time! Place the bread on a baking sheet and cover it well again. Let it raise for another hour.
9. Preheat the oven to 225 ° C. Place a Dutch oven with a lid on top in the oven. Leave it in the oven for 45 minutes. The pot should get steaming hot!
10. Sprinkle some buckwheat- or sorghum flour around the dough on the baking parchment. Try avoiding too much handling with the dough, you don’t want to break the “air bubbles” in the dough.
Take out the Dutch oven from the oven, carefully it’s VERY hot!
Take off the lid and place the dough in the pan. Don’t try to change its position once in! Cover with the lid and place the pan back in the oven. Lower the heat to 200° C.
Set the timer for 30 minutes.
11. Take off the lid and continue baking the bread without the lid for another 60 minutes. If the bread is getting too dark at the end, cover it with some tinfoil.
12. Let the bread cool off on a rooster. Don’t cover it if you like to keep the crunchy surface.
13. When the bread is completely cooled off, cover it with a kitchen cloth and leave it until the day after before cutting it.
This recipe is free from gluten, lactose and egg.
Pingback:Green Reuben sandwich a 'la Isabel - Tastecelebration.com